


- 13 October 2020
DIY staining a deck
THE TIMBER DECK IS AN AUSTRALIAN ICON AND AN INTEGRAL PART OF OUR GREAT LOVE OF OUTDOOR LIVING AND ENTERTAINING.
But constant weather, wear and tear mean you need a proper maintenance program to keep it looking great. To ensure your deck stays in top condition, print this booklet and refer to it throughout the maintenance process.
CHECKLIST
PROPER PREPARATION
- Before staining the deck check for loose, cracked or rotting boards, and replace them if necessary – using the same timber.
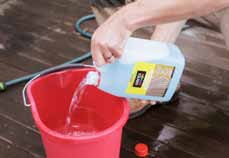
- Next, clean the deck with a specific deck cleaner. Look for the dilution instructions on the container and prepare in a bucket.
- Wet the deck thoroughly with a hose then apply the diluted cleaner and scrub into the grain.
- Leave it for 10-20 minutes, then clean it off with a hose or high-pressure washer.


CHOOSING A STAIN
Decking stains come as oil or water-based, and each have their own benefits. Oil based finishes penetrate into the wood very well, but take longer to dry and generally require more frequent recoating. Water-based product dry faster, have a gentler odour and are water washable. Some are even formulated to last longer than oil based finishes. Both are formulated to repel water, resist mildew, and prevent fading caused by UV exposure.
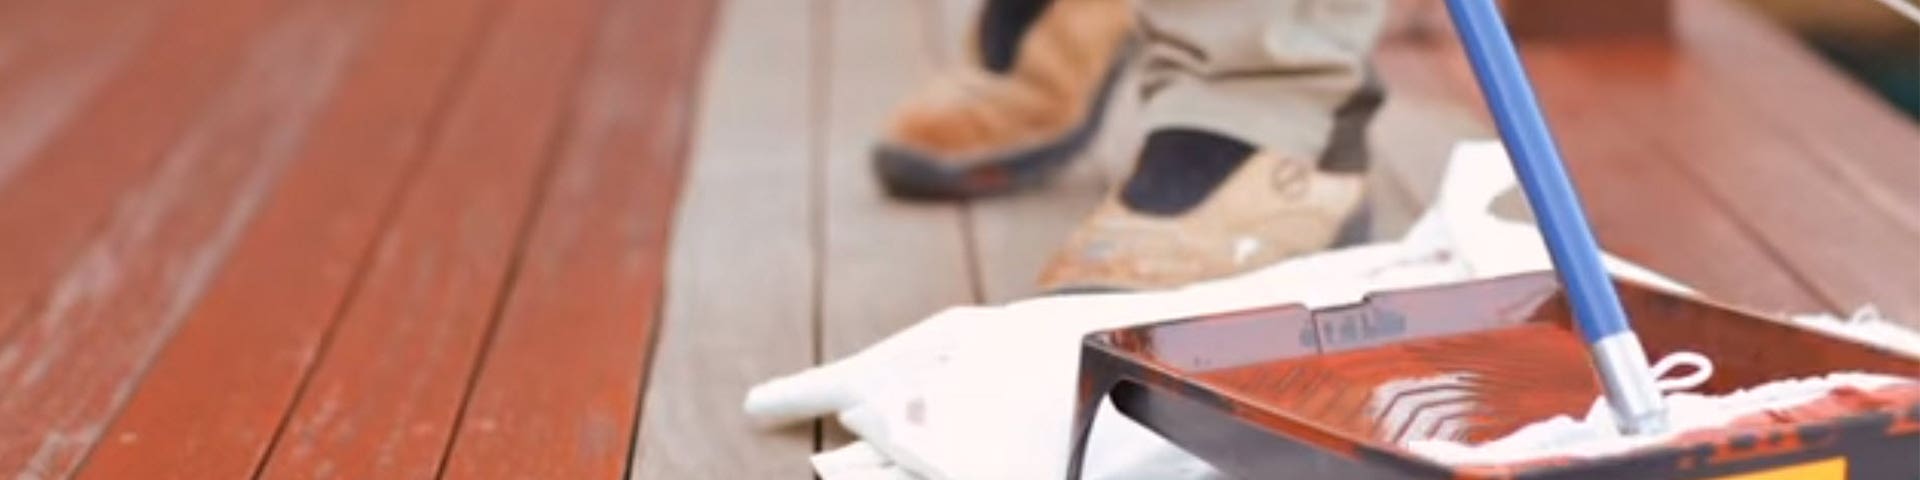
PROPER STAINING
STEP 1
Before starting ensure you stir the stain in a scooping motion and in between coats (pic. 1a). For best results, use a high-quality deck brush or lamb’s wool applicator, and avoid applying in full sunlight.
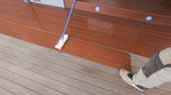
For corners and other difficult areas, such as steps, railings, and decking board ends, use a deck brush (pic. 1b).
Dip your brush in the tin and wipe any excess off the brush using the rim of the can.

1a)
1b)
STEP 2
Pour the deck stain into the paint tray, dip your applicator in the tray and evenly press out any excess on the tray ridges (pic. 2a).

2a)
Apply in even long strokes in the direction of the grain. Cover the full length of 2-3 boards at a time, applying it well into the board (pic. 2b & 2c).

2b)
To avoid a streaky finish make sure you keep a wet edge on the applicator and do two coats.
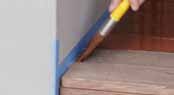
Finally, make sure to seal the end grain of each decking board (pic. 2d). This helps to prevent rotting and water damage.
2c)

2d)
STEP 3
Allow for appropriate drying time for your stain, before applying the second coat.
Drying time varies between products and can be up to 24 hours, or longer if the humidity is high. Most water-based products dry quicker, allowing two coats in one day.
Sit back, relax and enjoy your new deck.

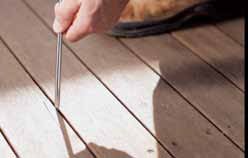
READY TO RECOAT?
If you’re not sure whether your deck is ready for recoating try this simple water test. Just spray a few drops onto the deck. If the water beads on the surface, it doesn’t need immediate attention. But if the water soaks straight into the timber, it’s definitely time to recoat.


