


- 13 October 2020
Build your own garden setting
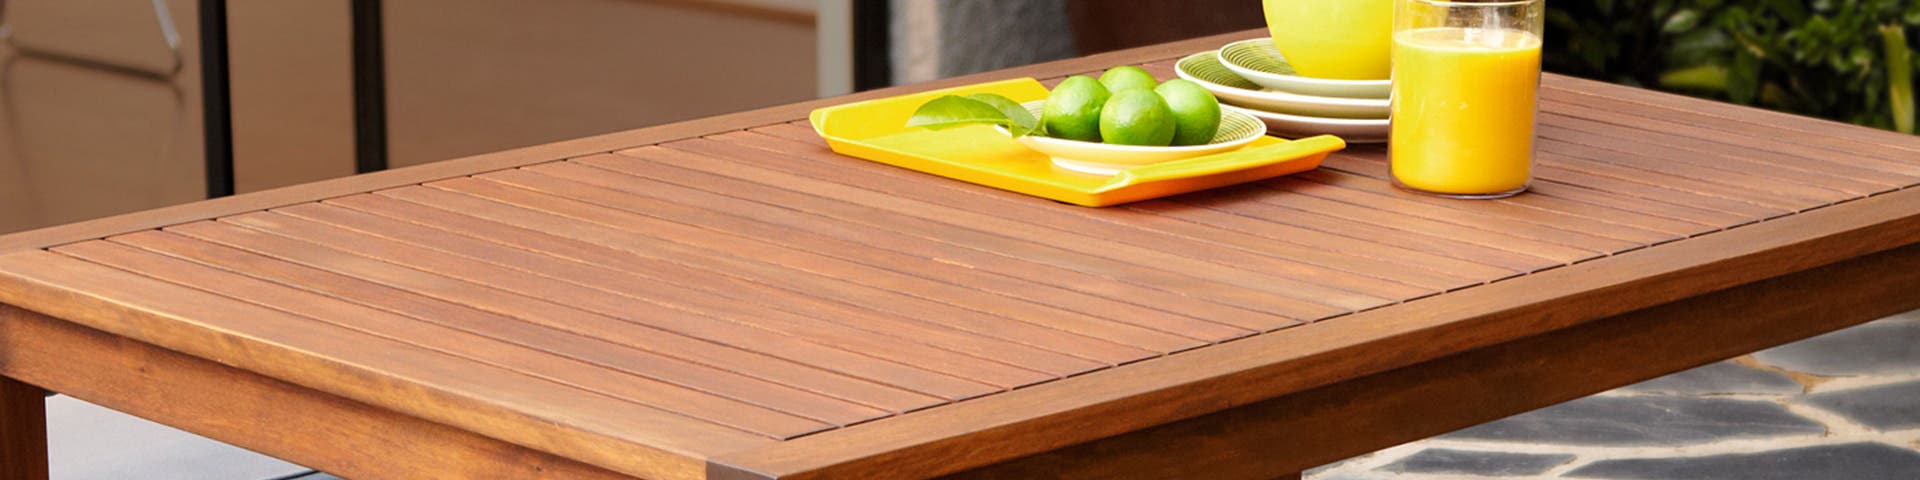
NO GARDEN IS COMPLETE WITHOUT SOMEWHERE TO SIT DOWN AND ENJOY IT!
No garden is complete without somewhere to sit down and enjoy it! This handy outdoor setting is simple to construct and will give you and your family years of pleasure.
MATERIALS REQUIRED
You will need 70mm x 20mm Treated Pine, Jarrah or Merbau cut to the following lengths:17 x 1350mm
4 x 730mm
7 x 650mm
6 x 600mm
2 x 590mm
8 x 430mm
4 x 290mm
14 x 275mmTreated Pine Screws ribbed head countersunk Phillips drive galvanised8 gauge x 40mm x 150
8 gauge x 30mm x 150
PREPARATION
STEP 1
Cut the treated pine to the lengths described in the material list.
STEP 2
The 17 pieces of 1350mm are for the top of the table and two seats. They should be set out as follows:

The easiest method of doing this is to mark the set out lines on one piece then transfer the lines to a second piece using your square. These lines mark the position of the three rails under the table and seat tops. To transfer the set out lines to the remaining 15 pieces, you will need to find a flat surface, i.e. floor, bench, table. Lay the unmarked pieces together on their edge. Place the two marked up pieces on either side. Using a straight piece of timber, make sure all ends are in line. Next, using your straight edge, transfer the set out lines across all the pieces of timber.

STEP 3
Next, you need to set up the three rails under the table.
Take three pieces 650mm long and set out as follows:

These lines give the position for the top pieces of the table. You now need to set out the screw holes which should be staggered as shown.
It is only necessary to set out one rail and mark the screw holes with a nail and hammer. Now, with the 4.5mm Drill Bit in your drill, drill the holes in the piece you have marked. You can now place this piece on top of the other two rails in turn and drill through the bottom piece.
STEP 4
For the seat top rails, take six pieces 275mm long and set out as follows:

These lines give us the position of our top pieces for our seats. Follow the same procedure as for the table rails.
STEP 5
The four pieces x 730mm and the two pieces x 590mm are the table leg uprights and should be set out as follows:

Cut out a 70mm x 20mm recess at each end of the four 730mm pieces. This is to accept the top and bottom rails of the leg. Now set out the screw holes and drill.
Remember, you need only set out one and use it as a pattern to drill the other three. The two 590mm pieces do not get cut or drilled.
STEP 6
The eight pieces x 430mm and the four pieces x 290mm are the seat leg uprights and are set out as follows:

Cut and drill as for the table uprights. The four pieces x 290mm do not get cut or drilled.
STEP 7
The remaining four pieces x 650mm are the top and bottom rails for the table legs and are set out as follows:

Drill four holes where indicated in each piece.
STEP 8
The remaining eight pieces x 275mm are the top and bottom rails for the seat legs and are set out as follows:

Drill four holes where indicated in each piece.
STEP 9
The six pieces x 600mm are the braces and are set out and cut as follows:

Cut opposing 45 degree angles on each end so the length from long point to long point is 560mm. Now, on one end cut another 45 degree angle to form a point. The overall length should now be 550mm. Set out holes as indicated. Do not drill at this stage.
STEP 10
The next job is to round off some of the ends to give your outdoor setting a more professional finish and to make it more comfortable to sit at.
The pieces that need to be rounded off are:
- 6 x 1350mm table and seat tops
- 4 x 650mm top and bottom rails for the table legs
- 8 x 275mm top and bottom rails for the seat legs.

An easy way to mark the round ends is to use a round container such as a paint tin - a 1 litre size is ideal. Once you have marked them, cut and sand them to shape.
ASSEMBLY
STEP 11
On a flat surface, lay the nine pieces for the table top face down with the two rounded pieces to the outside. Take the three table top rails and position them on the set out lines using the 30mm screw. Fix one end of the table rails 10mm in from the edge of the rounded top piece with the two screws in each rail. Fix the other end of the rails to the other rounded piece 10mm in from the edge and aligned with the set out marks. Check that all the ends are level and the spacing between the pieces is equal and screw them all in place.
Repeat the procedure for the seat tops.
STEP 12
Take the four x 730mm table leg uprights and the two x 590mm and assemble as follows. Using the 40mm screws, screw two of the 730mm pieces on either side of the 590mm piece as shown:

Now place a top and bottom table leg rail on either end and screw in place with 40mm screws.
Take the eight x 430mm seat leg uprights and the four x 290mm and assemble using the 40mm screws. Screw two of the 430mm either side of the 290mm as above. Now place a top and bottom seat leg rail on either end and screw in place with 40mm screws.
STEP 13

Pre-drill five holes in the top table leg rail and three in the top seat leg rail as shown above. These holes will be used to screw the legs to the table and seats using 40mm screws.
Lay the table top on a flat surface. Screw the legs in place. You are now ready to brace the legs using two of the pre-cut braces.


