


- 10 May 2023
Protite Craft Resin Kit: How to Application Guide
Step 1: Combine the contents
Calculate the area to be coated to work out your coverage requirements.
If your product needs full coverage supplied by Protite Craft Resin 250ml:
- Mix the entire contents of Craft Resin Kit – Resin (Part A) and Craft Resin Hardener (Part B) bottle supplied, in the same clean container.
If your product needs less coverage than that supplied by this lot (i.e., 0.25m²) or you would like to practice applying on a spare piece of wood before starting your project:
- Mix up a small amount of Craft Resin and keep each component in its original, separate containers.
Do not mix the full contents of Craft Resin – Resin (Part A) and Craft Resin – Hardener (Part B), as once mixed, any left-over contents may become hot, set quickly and will not be usable for future projects.
How to measure out Protite Craft Resin
Incorrect measuring will result in a less than satisfactory result and spoil the project.
- Calculate surface area of product to be coated.
- Calculate Craft Resin volume needed as a 1:1 ratio of Resin to Hardener
- Pour the correct amount of Part A (Resin) into a measuring bowl. For best results, we suggest using a disposable plastic measuring bowl.
- Pour the correct amount of Part B (Hardener) into another measuring bowl.
- Combine your measured volume of Part A (Resin) and Part B (Hardener) into one mixing container and follow the 'Blend Instructions' noted below.
Note: Putting extra Hardener in will not make the surface harder. Mix the material as close to the correct ratio of 1:1 as possible to get the best results. Adding too much of either Resin or Hardener will result in the final film being soft. 250ml Protite Craft Resin will typically cover 0.25m² at 1mm thick subject to substrate porosity.
Step 2: Blend
CAUTION: The product will not cure as wanted if mixing directions are not correctly followed.
Mix combined product with a flat spatula/stirrer until the material is thoroughly blended and homogeneous, scraping down sides and stirring slowly. Avoid excessive vigorous mixing that may introduce air bubbles into the mixture. If material is not sufficiently mixed the final product will not achieve its full cure and may remain soft or sticky.
Note: It is important to mix both parts thoroughly as if mixing two different colours. As the mixture is clear you may think it is mixed when it is not. We recommend using 2 containers – start by mixing the Craft Resin solution (Combined Part A Resin and Part B Hardener) in the first mixing container, and after a minute transfer to the second container to mix for another minute. The mixture should be ready after two minutes of careful mixing.
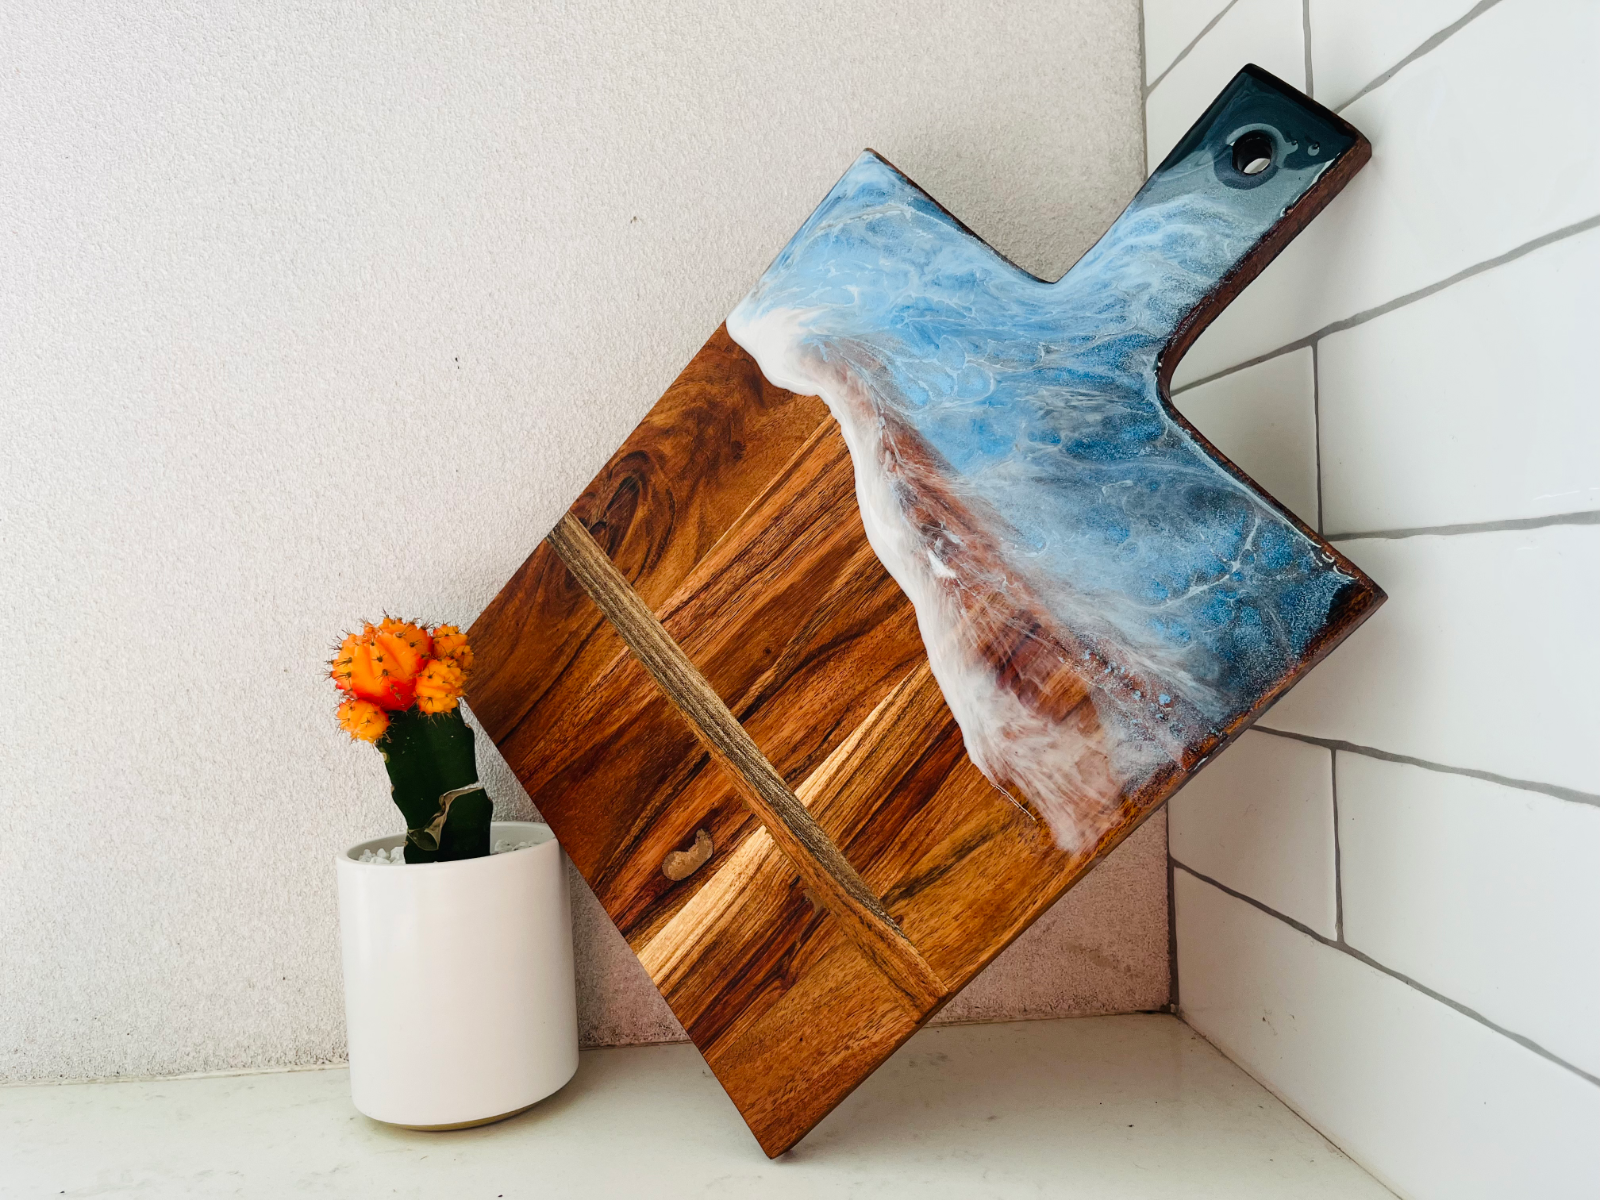
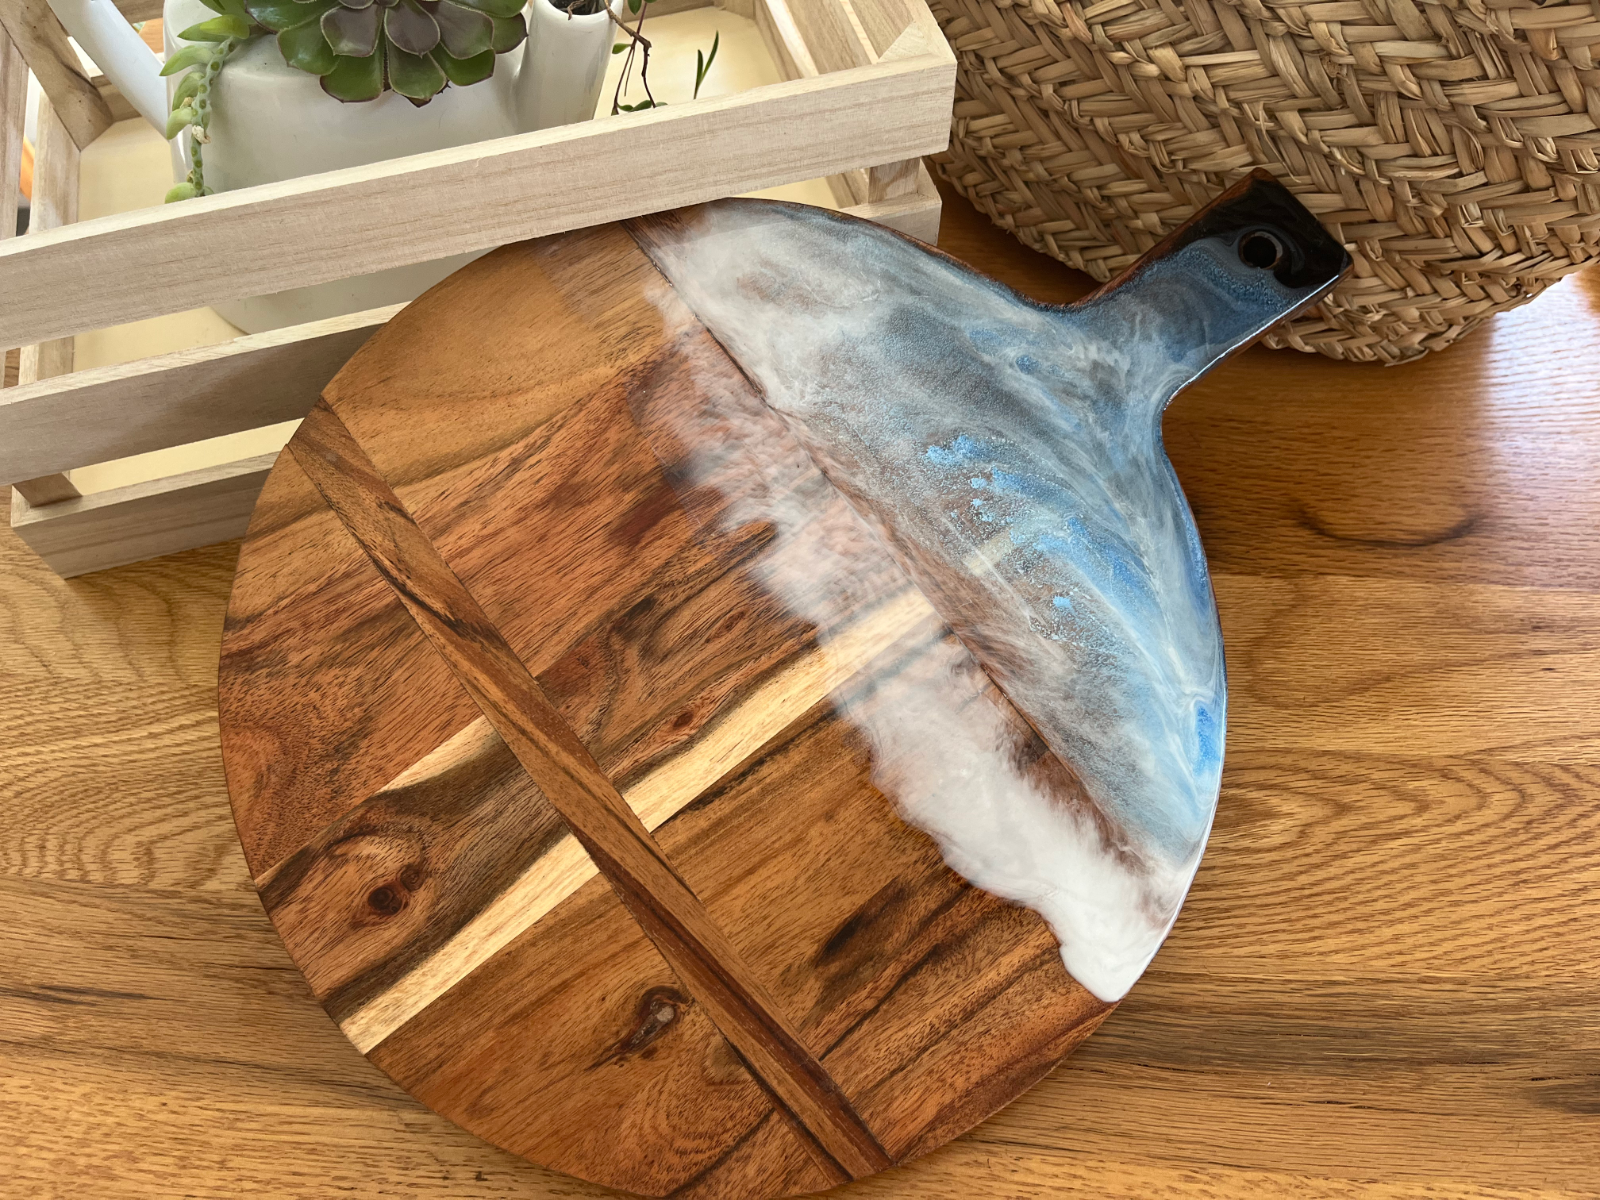
STAINING
A few drops of Protite pigment can be added to Craft Resin to change the colour if required. As a guide for 100ml of Craft Resin 2ml of pigment is enough to result in a bright look to Craft Resin. Any more will result in the surface being soft and sticky and it will not cure.
If you want a deeper colour finish this can be achieved by staining the timber surface directly before applying Craft Resin and applying the pigment to Craft Resin.
Step 3: Pour and Roll Out
Once the product is adequately mixed, pour evenly over the surface that is to be coated. Pour all the mixed Craft Resin in the first few minutes after mixing. If the mixed product is left in the mixing container longer than 5 minutes, it will become hot and set rapidly.
For best results, make a border with the mixture (around 3cm from the outer edge) and then generously fill in the area from the centre with the Craft Resin mixture, do not apply a small amount. Craft Resin will self-level, however a spreader may need to be used to spread the Craft Resin to the edge across the surface.
To guarantee best results, use a small brush to clean the edges right away. Vertical edges can remain free from Craft Resin running down them by laying tape so that the edge is f lush with the top of the surface being coated. The Craft Resin will flow to the edge and naturally create a rounded edge.
Step 4: De-gas
It is normal for bubbles to appear after the pour, and many may pop as the Craft Resin spreads across the surface. For remaining bubbles, on a small project gently blow the surface. If this is not effective or for larger projects use a propane torch.
Using a propane torch
From about 20cm above the surface using a low flame, move the torch across the area to ensure the whole surface has been de-gassed. This guarantees all bubbles are removed prior to curing. Do not hold the torch too close to the surface or in one area for too long as the flame may burn the surface and damage your work.
Note: Bubbles are burst with carbon dioxide, not heat. Do not use other devices like a hair dryer or a heater. Bubbles need to be removed in the first 20 minutes. If you attempt after this time it will result in an uneven surface.
Step 5: Leave to cure
After approximately 12 hours the surface will be touch dry.
It is best not to place anything on the surface for at least 3 days.
Remove any masking tape from the edges of the project before the surface dries but after the Craft Resin has stopped flowing down the sides of the project – which takes approx. 5 hours. If removing the tape lifts the edge up, the edge will flow back and set OK.
For best results, allow material to cure in a dust free environment for 24 -72 hours. For optimal results ambient temperature should be 20–30˚C.
After 7 days full curing of this product is achieved.
For more information: https://www.protite.com.au/products/epoxy-craft-resin/epoxy-craft-resin/